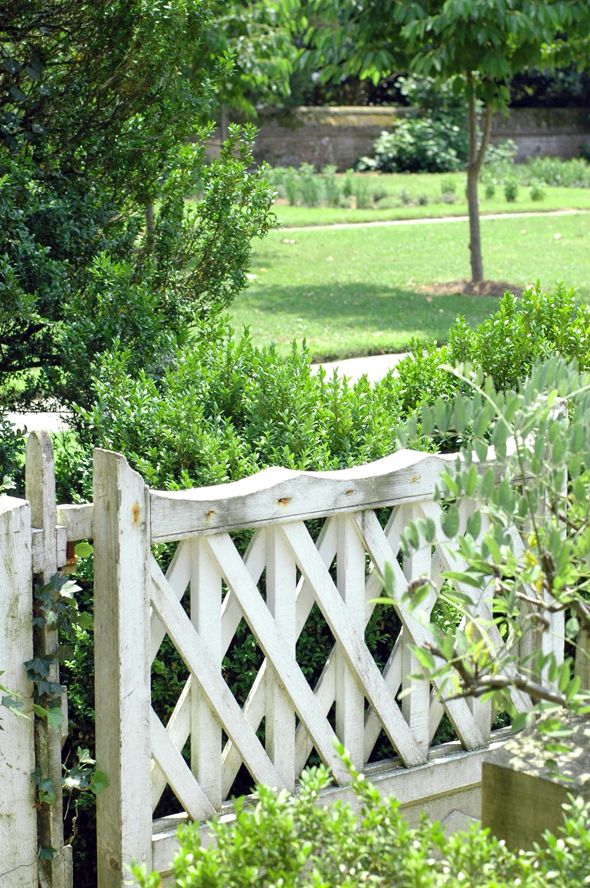
Why Do Garden Gates Sag?
Garden gates sag because a square (or rectangular) frame is essentially unstable. Built with standard DIY woodworking joints, the gate will twist unless it is braced or pulled into tension. This tendency is exaggerated because a gate is held along only one side; the unhinged, free side sags from its own weight and from the trauma of being slammed. (And do you remember swinging on the backyard gate as a kid?)
Best Practice
Always use best-practice principles for fences and gates, or they won’t last five years.
- Use rot- and corrosion-resistant materials
- Build to shed water
- Avoid exposed end grain and water traps
Strength is important because a garden gate moves.
- Sink posts into concrete
- Use heavy-duty fasteners
- Make good, strong joints
As for wood choice, your best bet is a rot-resistant species (cedar, redwood, teak, mahogany).
- Cedar wins because teak is very expensive and has a high waste factor
- Redwood should be used only if it is recycled old-growth lumber
- Less-resistant mahogany needs a finish coating
- Pressure-treated lesser woods are in disfavor because we now know that the preservatives do transfer (to the touch, and into the water table) and because cuts require highly toxic on-site treatment.
Two Strategies for Building a No-Sag Gate
The first two strategies for building a no-sag gate involve the principle of triangulation: introducing a diagonal to stabilize the square frame.
The Tension Solution: The tension solution uses a rod or a cable and turnbuckle, as shown, to keep the frame from twisting out of square. But “diagonal bracing is only as stable as the primary joint to which it’s fastened,” says woodworker Charles Prowell. “A turnbuckle cable requires periodic adjustment.”
The Compression Solution: This solution makes use of a solid brace along the opposite diagonal.
Joinery
Rigid woodworking joints also will keep a gate from sagging. Rigidity keeps the frame from twisting. A pegged mortise-and-tenon joint is strong. You should try to cut the mortise accurately for a tight fit, but if there’s any play, shim around the tenon. Note that the pales (pickets) are inserted through holes drilled into the rails.
To ensure a really tight mortise-and-tenon joint, drill the holes in the tenon just a bit off center from the holes you drill in the side of the post. This way, when you drive the pegs, they will act as a wedge, tightening the joint. This is called a draw-peg joint. Taper the ends of the pegs to help them go in easier. Cut the mortise a bit deep to allow for draw.
How to Construct the Gate Closure
Don’t use a screen-door spring closer! There’s just too much tension on one of these; slamming will cause the gate to wrack and vibrate apart in no time. The easiest solution is to forgo automatic gate closers entirely—simply close the gate manually behind you. Or install the hinged gatepost slightly out of plumb to encourage the gate to close itself.
An early solution (still used most picturesquely at Colonial Williamsburg) is a weight on a chain. No matter what the closing mechanism or the type of latch used, adding a stop piece the full height of the gate is very important. If the swinging gate is stopped against the post only at the latch point, it will wrack every time it closes.The Pro Tip: “These principles are useful for the do-it-yourself fence builder. Joinery is paramount in wood construction subjected to the elements; my own company relies on advanced woodworking joints.” –Charles Prowell, Prowell Woodworks


